
ACCESSORIES!
 If you remember one of my posts around my birthday; I received a Kitchen Aid Mixer from K-man. YAY! I am so glad to finally have one of my own (I have 4 in my classroom).
Speaking of having KA mixers at school, when they were purchased, my supervisor suggested getting one set of some of the attachment sets. Hey, I wasn't having to foot the bill....."sure!" I said.
We selected: the first attachment set, it had a food grinder (haven't used yet) and a food slicer/shredder (I do not suggest this, food processor is so much quicker), a pasta roller/cutter attachment set and the pasta maker plates set (you need food grinder to use this!)
So I bought the pasta sets home for the summer to do some experimenting. It took awhile for me to get up the energy, because I've made homemade pasta before and I KNEW this was going to be an undertaking....
What I didn't realize until the very moment I started this project.....is that I needed the food grinder attachment in order to use the pasta maker plates. Grrrr....this is packed away in my school and that would be a task to go retrieve (sign out my keys, unlock the chains, dig for the attachment, chain cabinet back up, sign back IN my keys....ugh) SO, that attachment post will be another day, K?
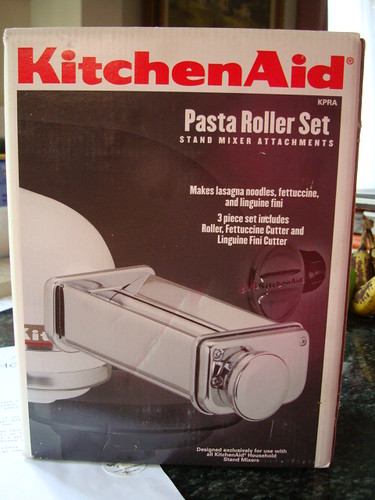
Today I am showing you my the use of the pasta roller attachment. Here are the players:
This is the roller knob. Look above at the picture on the box for the full view of it. Man, these numbers were hard to see without my reading glasses. "Floury" hands don't make it easy to turn these knobs either.

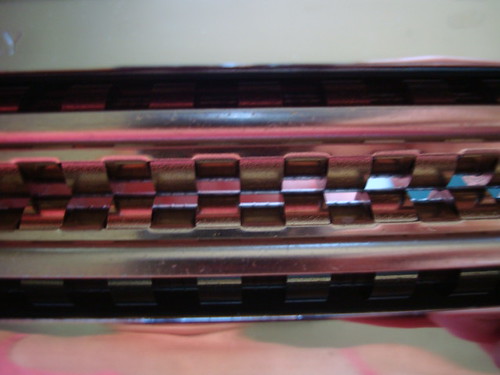
This is the Fettuccine cutter attachment. No fuss, no muss. After you got your dough flattened from the roller on setting 5 you just switch out and slide the dough on in.
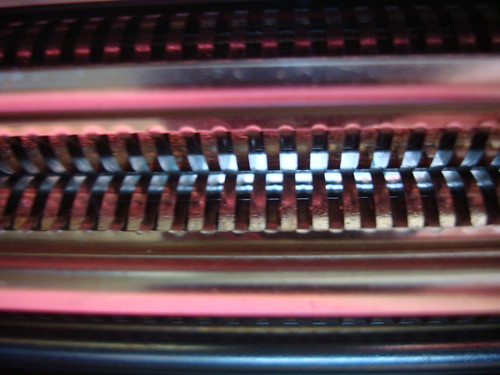
They call this attachment for the "linguine fini". Who are we kidding here? This is for angel hair pasta. LOL. I guess I have to use the 'pasta plates' to make linguine.
In the instruction booklet this was their recipe for making the pasta dough:
Basic Egg Pasta
4 large eggs
1 Tbsp. water
3 -1/2 cups sifted all purpose flour
1/2 tsp. salt
Place eggs, water, flour and salt in mixer bowl. Attach bowl and flat beater. Turn to speed 2 and mix 30 seconds. Exchange flat beater for dough hook. Turn to speed 2 and knead for 2 minutes. Remove dough from bowl and hand knead for 1-2 minutes. Divide dough into eight pieces before processing with pasta roller attachment.
Flatten each piece of dough to approx. 3/8 inch thick. Set roller at 1 by pulling knob and turning to setting 1. Turn mixer on speed 2 or 4. Feed flattened piece of dough into rollers to knead. Fold dough in half and roll again. Repeat folding and kneading dough until smooth and pliable. Make sure you are always lightly dusting pasta with flour while rolling. Continue the 'kneading and flattening' with remaining pieces.
Move adjustment knob to setting 2. Feed dough through rollers to further flatten. Change setting to 3 and feed dough through rollers again. Continue to increase until desired setting (about 5).
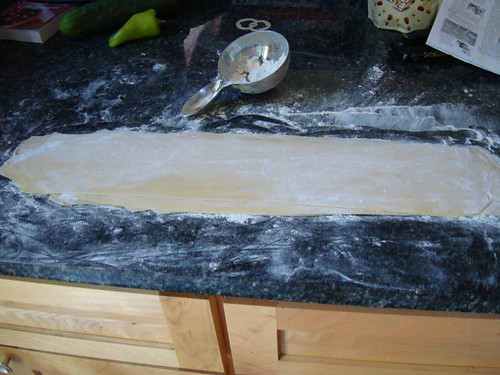
HERE WE GO.....
This is (believe it or not) 8 layers of pasta, floured, flattened and ready to go. I actually cut this in half before I went to the cutter. I didn't need my pasta THAT long!
I started with the fettuccine cutter attachment....
 WHEEEEEE....how happy I was! My own noodles! I cut half of my pasta in fettuccine and the other half as angel hair....
 Clearly I have to now have to master the drying part....
Here is what the booklet said....that in my excitement I ignored:
"Pastas can be either dried or frozen for future use. To dry, lay stands of pasta in a single layer on a towel or drying rack to completely air dry (meaning don't do what I did up above, LOL).
Store dried pasta in an airtight container. To freeze, let pasta air dry for one hour before freezing in an airtight container. It is not necessary to separate strands of pasta before freezing just dust with flour and form into nests."
I suggest laying your towel on a tray and when they come out of the cutter just run the tray along as the pasta comes out. Too bad I did all my pasta on top of each other. But now I know for the next time!
Tune in Tomorrow to see what I made with my first batch of homemade pasta!!!


1 comment:
What a fantastic addition for your students!
Post a Comment