
 The Homemade Vanilla Extract! She is ready!
Well..... she's been ready since last month, I've just been neglecting to take her picture.
I've seen many a post on making your own vanilla extract. It makes sense to do so:
1. It's insanely easy.
2. We bloggers use buckets of vanilla extract.
3. It's SOOOOOOOO incredibly cheap.
When I took the time to do the math, I added the cost of good vodka and the vanilla beans. Then I calculated the number of little vanilla extract bottles (4 oz?) that would be equivalent to one liter (approximately) Divide the total number of the little extract bottles into your total cost....Your cost of homemade vanilla versus store bottle. My results?
Store Bottle = between $14-15 per bottle
Homemade = $1.25 per bottle
Are you STUNNED? I was. I started my bottle during the summer now it's perfect.
How's how easy it is.....You don't even need to print the recipe out...or write it down.
HOMEMADE VANILLA EXTRACT
 Buy a package of 10 vanilla beans.
I got mine from Amazon.com
For my first try I used Madagascar. After reading around, it is suggested to use a mix of Madagascar, Mexican and Tahitian for more complex flavor....will do on next bottle.
These were wonderfully soft and fresh!
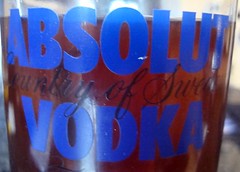
Purchase some vodka. I did some reading around and the consensus was to NOT buy the cheap rot gut on sale. Get the good stuff. Absolut was my compromise for trying this experiment. Next time I will use the Grey Goose.
You may need to pour out a bit of vodka to fit all your beans in....make yourself a cocktail while you prepare this....
Run a knife down each vanilla bean and insert it into the bottle. YES, ALL 10!!!!
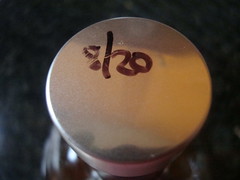
Date the top of your bottle and store in dark cabinet. Shake every two weeks or so. Should be ready in about 6 months!
Don't laugh. I store my whole absolute/vanilla bottle in the cabinet with all my other spices, extracts and baking ingredients. LOL. I am proud of my wonderful stuff.
Tips For Making Homemade Vanilla
found on Tipnut.com
• Stronger Extract: Use a high proof of alcohol and scrape the seeds from the bean.
• Weaker Extract: Use a lesser proof of alcohol and soak beans intact.
• To strain and bottle for storage: Use a very fine strainer, coffee filter, or paper towel to strain.
• Vodka usually gives the highest alcohol content. Brandy adds additional flavor which some folks may or may not prefer.
• Corn syrup or sugar helps extract and develop the flavor from the vanilla pods (corn syrup dissolves more easily).
• Using a variety of vanilla pods (Madagascar, Indonesia, Tahitian, Mexican) will produce a vanilla extract with a much more complex flavor and aroma. Try using Madagascar pods as a base, adding Tahitian and Mexican pods for additional flavor/fragrance notes.
• Shake vanilla bottle before each use. Small flecks of the vanilla pods will be in the vanilla extract – they provide additional flavor. They also appear as dark flecks in light-colored food, don’t shake the bottle if you don’t want the flecks to appear.
• Occasionally spoon out some of the mass of vanilla pods that settle to the bottom of the jar for when you want a very intense vanilla flavor (such as homemade vanilla ice cream or butter/vanilla pretzel cookies).
• Have a brew bottle always on the go and every summer make sure it’s topped up so you’ll have enough vanilla extract on hand for holiday baking.
Storing Vanilla
• Keep vanilla extract in a cool, dark place, with the bottle tightly closed, to prevent evaporation and loss of flavor. Vanilla extract has an indefinite shelf life.
Starter brew bottles make great gifts for friends who bake. Include the basic instructions and a few extra vanilla pods in case they want to make an even stronger extract or wish to make some vanilla sugar on the side.
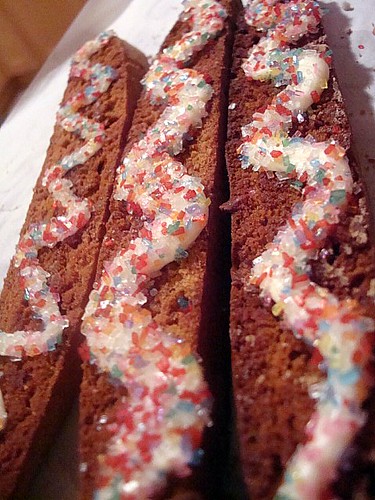
Tune in tomorrow for what I made with some of my homemade vanilla extract!
Enjoy,








 Posts
Posts


